Grooming your dog at home can be a rewarding experience, and its something that builds an even stronger bond between you and your furry friend. Whether you’re a seasoned pet parent or new to the DIY grooming scene, Im here to share some friendly advice I use that will hopefully make grooming at home much easier.
Why Grooming Matters
Grooming isn’t just about keeping your dog looking sharp its an essential part of keeping them healthy. Regular grooming helps prevent skin issues, keeps their coat free of tangles, and gives you a chance to check for any unusual bumps or ticks. Plus, it’s a wonderful opportunity to give your pet a bit of extra love and attention.
Essential Tools and Supplies
Before you get started, make sure you have the right tools on hand. Here are a few basics that make the process smoother. Ill link the ones I use personally. There are many great options out there.
Dog Shampoo: Choose a gentle, hypoallergenic shampoo, especially if your dog has sensitive skin.
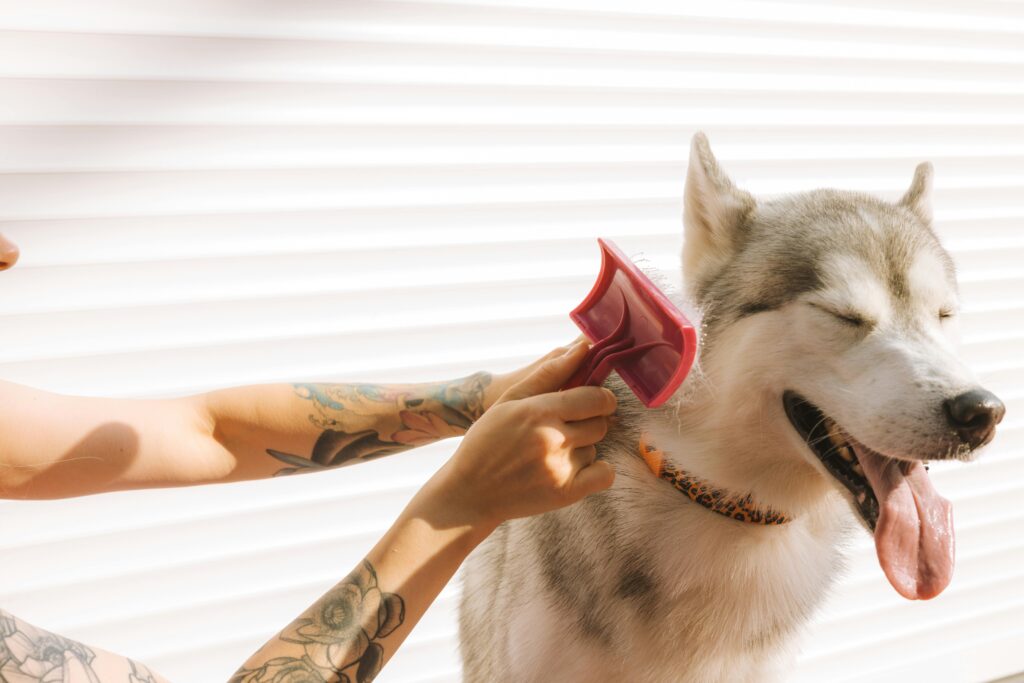
Brushes and Combs: A slicker brush is great for everyday use, while a comb helps with detangling. If your dog has a thick coat, consider a de-shedding tool.
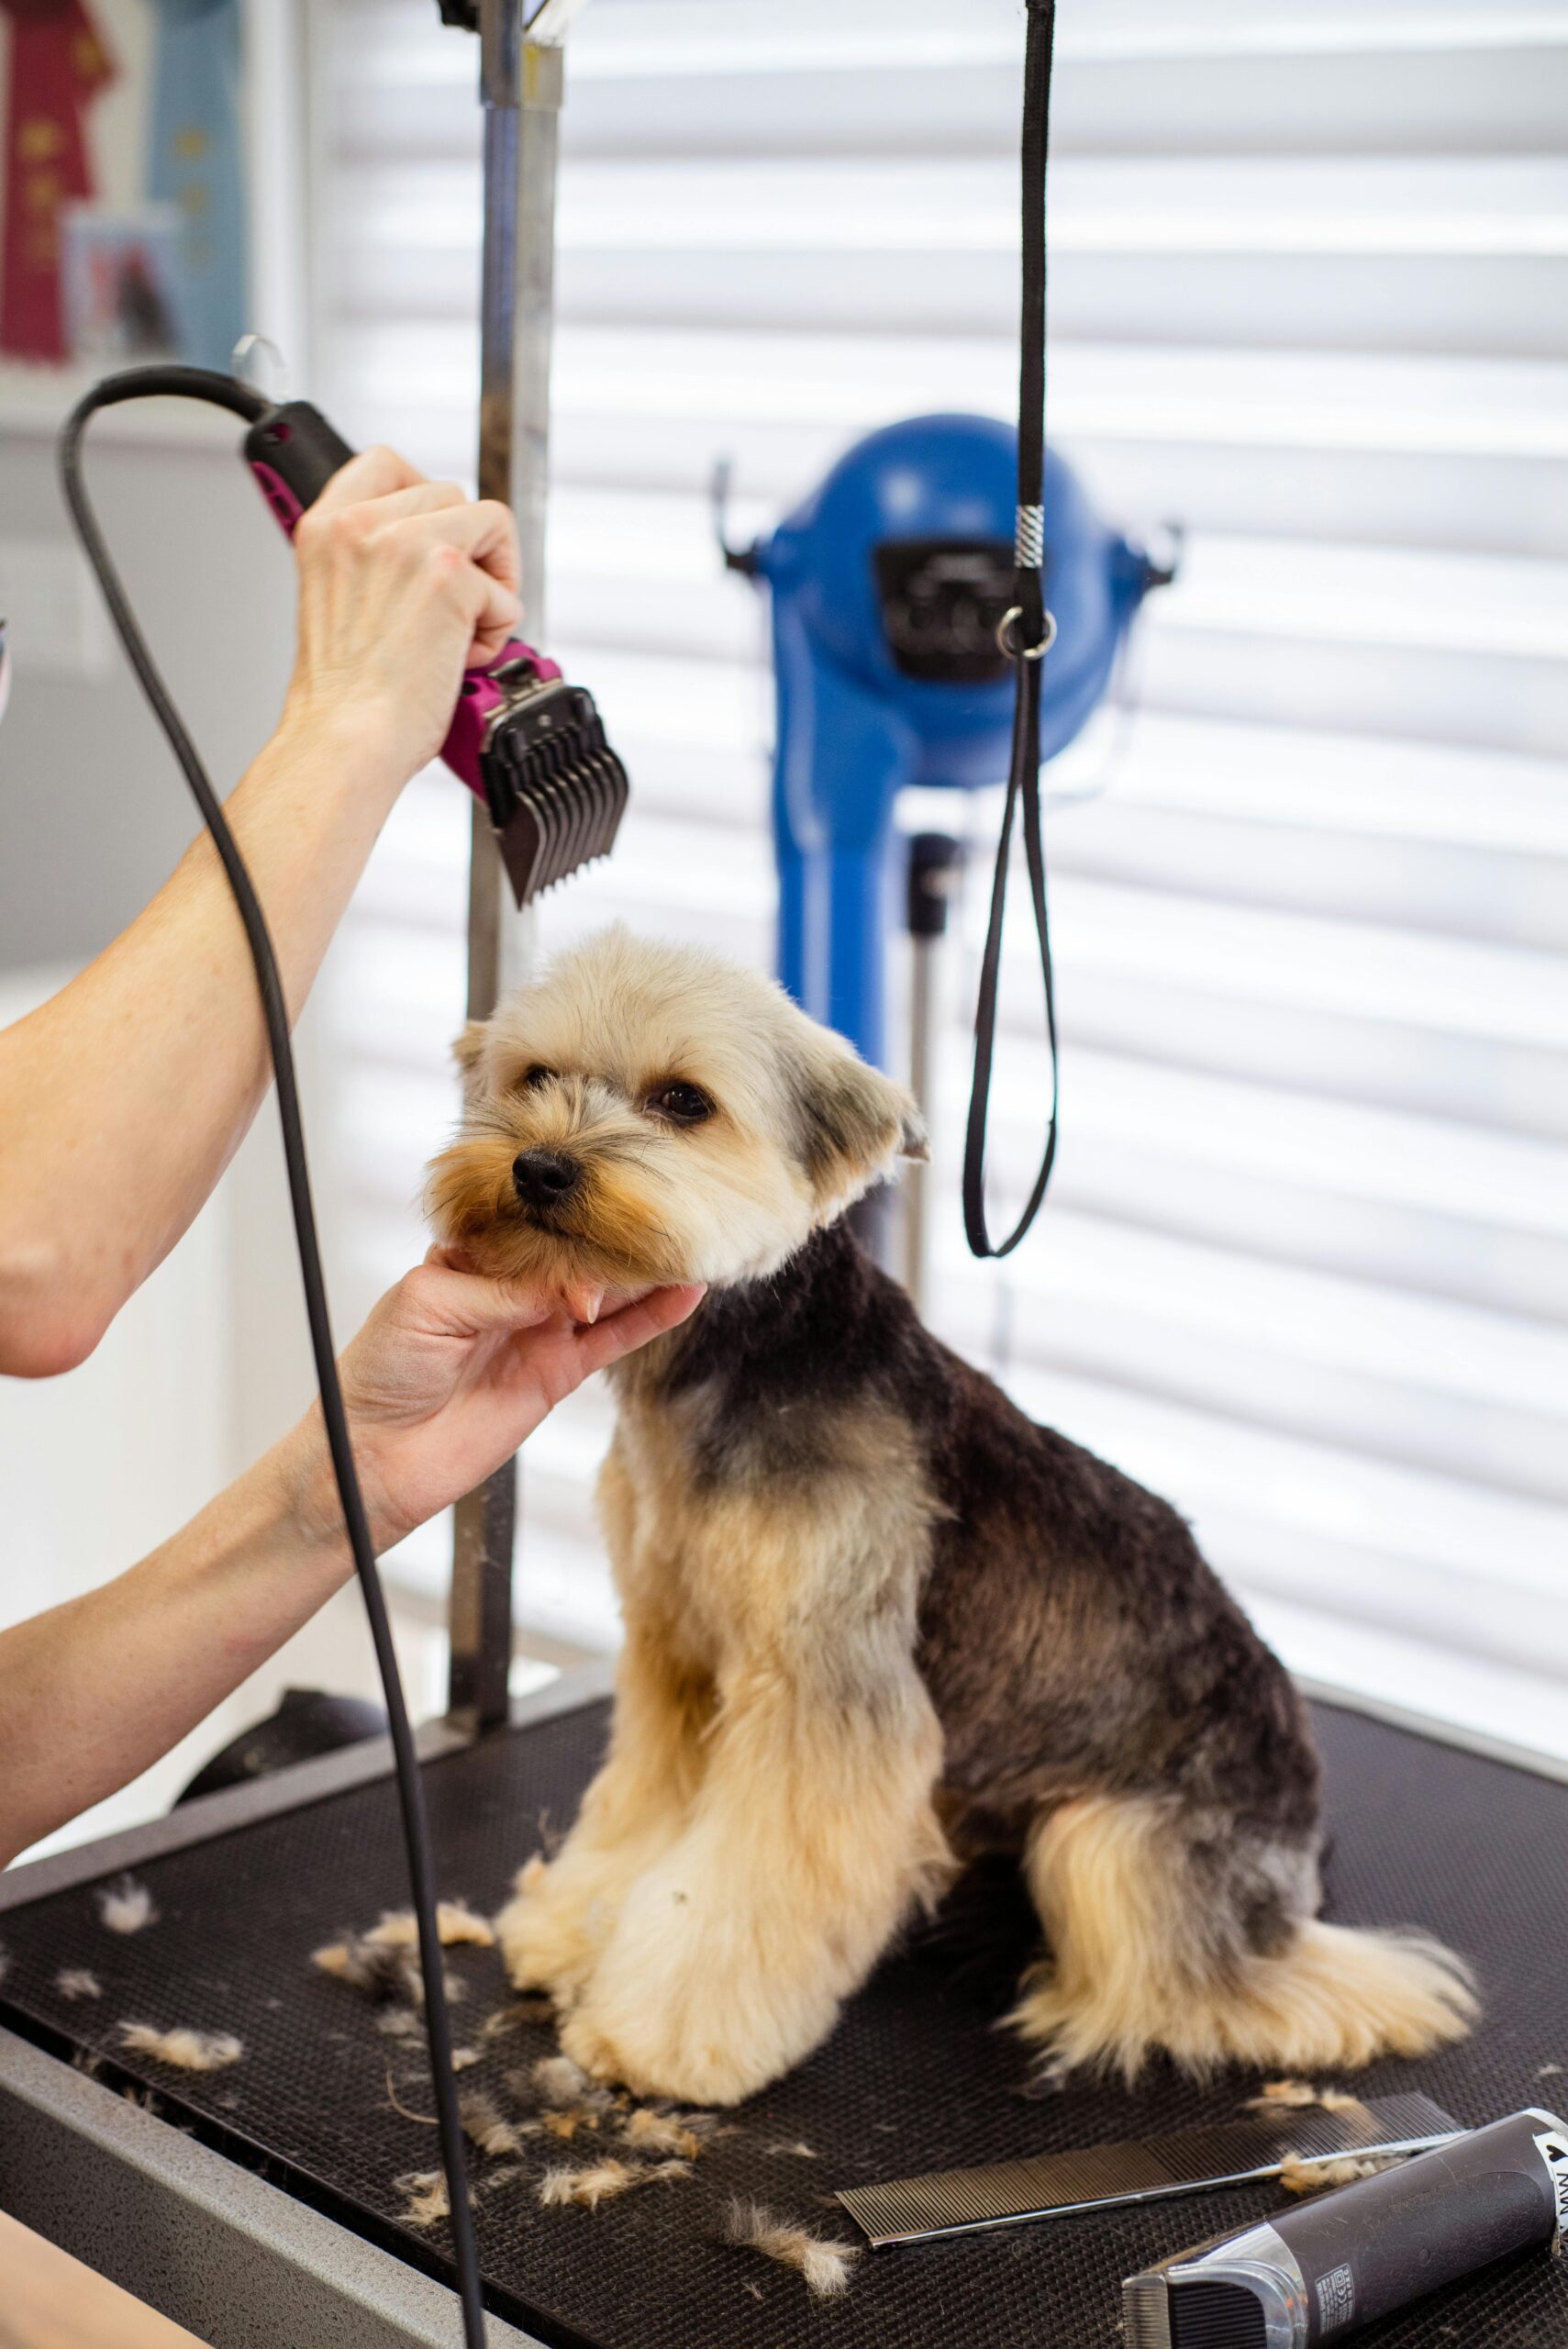
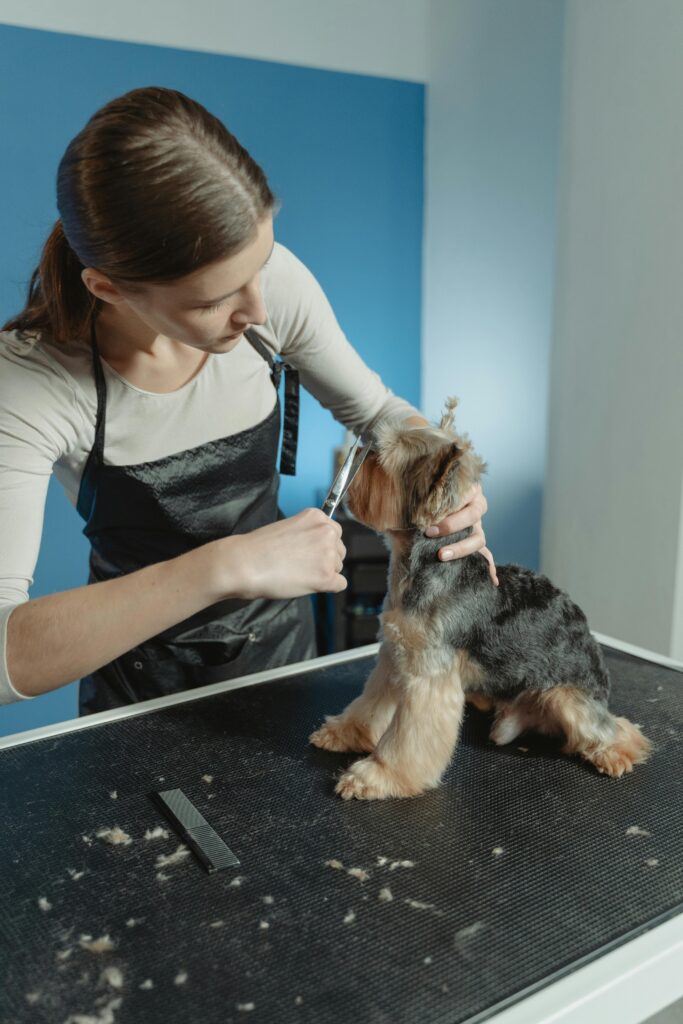
Scissors or Clippers: Use grooming scissors for small touch-ups or clippers if you’re comfortable trimming a bit more. I personally use this setup. I LOVE IT!
Towels: Have a few soft towels ready for drying and cleaning up any spills.
Treats: Keep some of your dog’s favorite treats nearby—they make a great reward and help keep the experience positive.
Step-by-Step Grooming Process
Prepare a Calm Space: Choose a quiet spot where your dog feels safe. A non-slip mat can be a good idea if your dog tends to move around a lot.
Start with Brushing: Gently brush your dog’s coat to remove loose hair and detangle any knots. This helps reduce shedding and prepares the coat for a more thorough clean.
Bath Time: Fill a tub or sink with lukewarm water and gently wet your dog. Apply a small amount of dog shampoo and work it into a lather, being extra careful around the ears and eyes. Rinse thoroughly to ensure no shampoo residue remains.
Drying Off: Use a towel to pat your dog dry. Some dogs don’t mind a gentle blow-dry on a low setting, but always check that the temperature is comfortable for your pet.
Trimming and Touch-Ups: Once your dog is mostly dry, inspect their coat for any areas that need a trim. Use grooming scissors to carefully trim around sensitive spots like the paws and tail. If you’re using clippers, go slowly and be sure to follow the grain of the hair.
Watch videos and read articles on your specific breed. You can learn about styles and how to achieve them. Taking time and doing research is well worth it. And remember the more you practice over time you will get better and better. So don’t give up.
Tips for a Stress-Free Experience
Patience Is Key: Take your time with each step. If your dog seems anxious, give them a break or try again later.
Make It a Routine: Regular grooming sessions make the process less intimidating for both of you. Aim for a schedule that suits your dog’s breed and coat type.
Positive Reinforcement: Praise your dog throughout the grooming process. Small rewards can help them associate grooming with positive experiences.
Know Your Limits: If you ever feel unsure about a particular grooming task—especially trimming around sensitive areas—it’s perfectly okay to seek help from a professional groomer.
Final Thoughts
Grooming your dog at home is not only a practical way to care for your pet’s physical health but also a lovely chance to connect and spend quality time together. With the right tools, a gentle approach, and a bit of patience, you’ll soon see how enjoyable DIY dog grooming can be.
I hope these tips make your next grooming session feel less like a chore and more like a special moment shared between old friends. Happy grooming, and give your dog an extra pat from me!